
Make Marine Scenes Fluidly with These 7 Tricks
Make Marine Scenes Fluidly with These 7 Tricks
How to Shoot Underwater Video Easily (with 7 Tips)

Ollie Mattison
Mar 27, 2024• Proven solutions
If you’re interested in shooting underwater video without a big production budget, this article is for you.
With our help, you can shoot gorgeous underwater videos that look fantastic and can be shared across various social media channels including Facebook, Twitter and YouTube.
There are many tips you can learn from to get the results that you require, so read on to find out more about what you can do to shoot underwater video with ease.
Tips on shooting video underwater
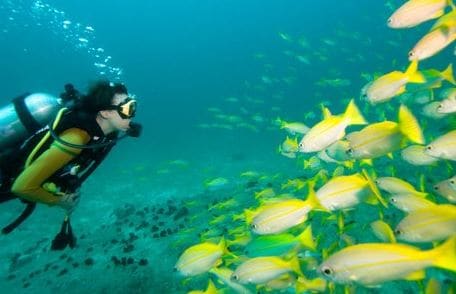
1. Frame your shots
It’s best to avoid shooting divers in mid-water. See if there is anything you can use to frame them, such as a wall, corals or marine life. It can take time to frame your divers, but try to get the best results you can to avoid being stuck with unsatisfactory footage further down the line.
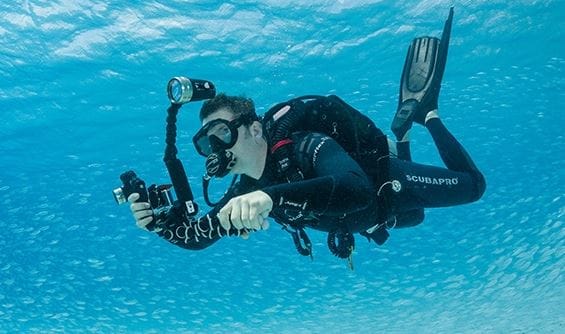
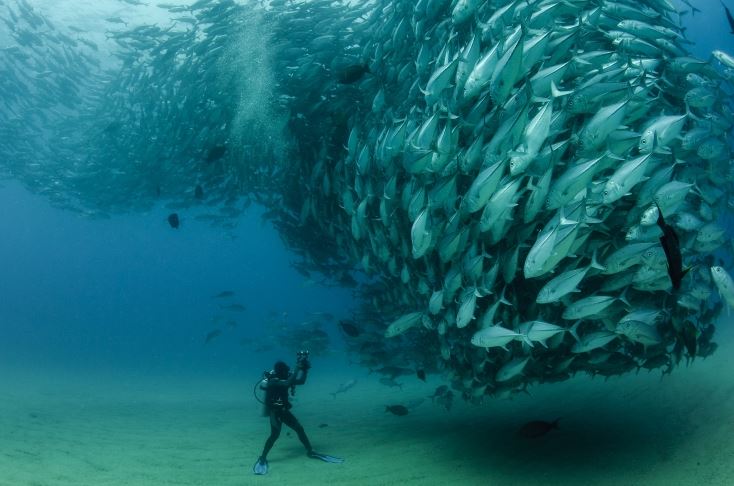
2. Get closer
You need to get as close to your subject as you possibly can. It may take several attempts to get it right, especially if you’ve just about got the shot you want but your subject inevitably floats or swims away.
Again, it’s wise to invest extra time in getting the close-up that you need. You can obtain crisp, high-quality images by removing as much of the water between your subject and the camera as you possibly can.
This will also make your images clearer and more colourful.
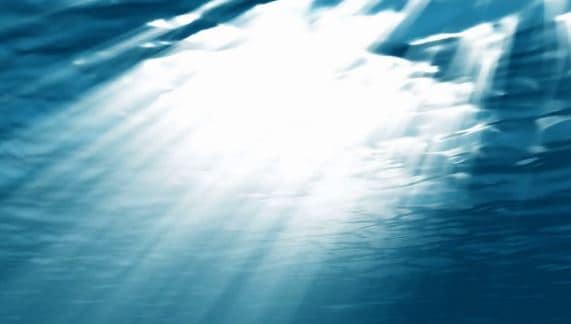
3. Lighting is important
It’s possible to manipulate lighting via white balance and manual exposure. When you use manual white balance, you can obtain outstanding footage without purchasing costly lights.
Many pros use strobes to film at depth and in low light, but these can be expensive and hard to transport. They can also make your footage look less natural.
You can instead make use of natural sunlight, which should help you get the excellence you require even when you’re shooting at more than 30 metres depth. Deeper white balancing can be helpful during cloudy days.
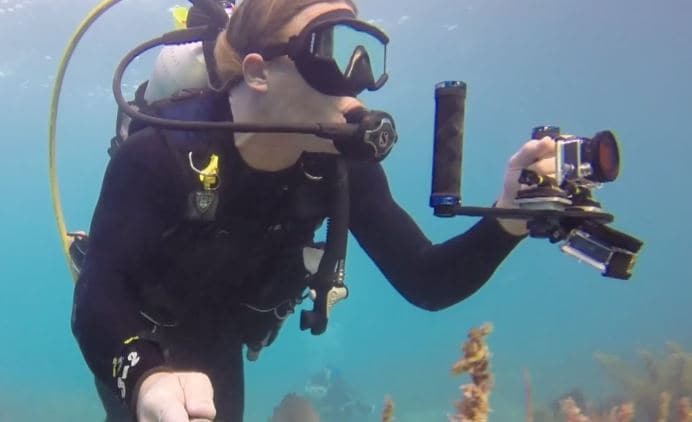
4. Stay steady
Many amateurs think they won’t have a problem with wobbly movements when filming underwater, but even the smallest amount of jerkiness can be detrimental to your content.
To add greater stability to your camera, hold it as close to yourself as is realistically possible. Alternatively, consider using a tripod if you can. Keep your camera on your subject for as long as you need to, and try to wait for ten seconds without re-adjusting your camera at all.
5. Be careful of other divers
Unfortunately, other divers have a tendency to get in the way when you’re shooting footage underwater. Many video production professionals opt to intentionally include clips of divers in their footage so everything flows nicely and cuts work well together if their presence in other shots is unavoidable.
6. Wide angle
If you wish to include wide-angle shots in your work, make sure the camera is zoomed all the way out. Locking your elbows to your side, try to hold your breath to reduce the chances of shaking and pan shots slowly. You may need to shoot several takes to get it just right and will benefit from the use of a colour correcting filter.
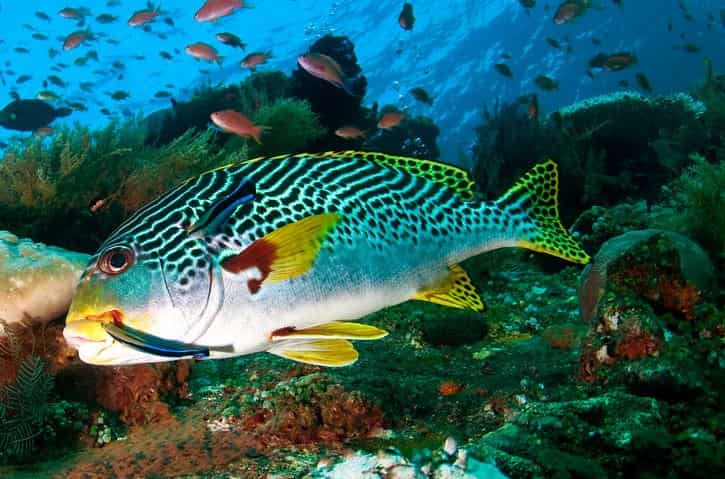
7. Shoot the best colour
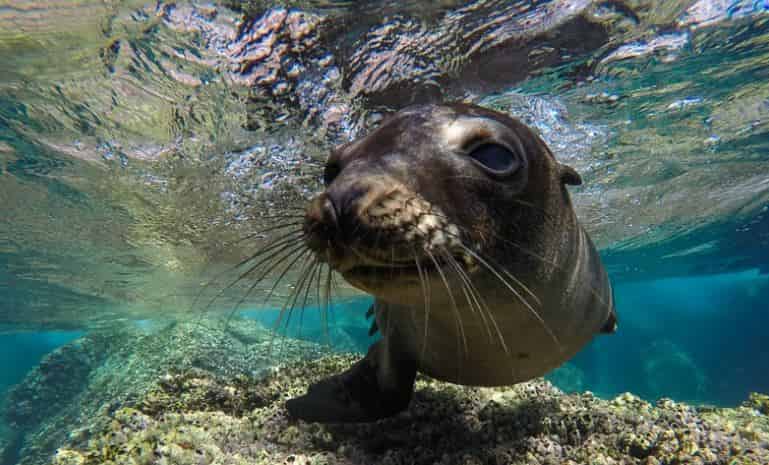
You will be able to include the full spectrum of colour by remaining in the first five metres of the water. Fascinating marine life can be found in shallow reefs. The deeper you go, the more colour you are likely to lose.
Virtually all natural colours when you stay shallow. Go beyond this and you will require a colour correction filter to retrieve the colour lost through depth. When shooting close-up subjects beneath 20 metres, use a wide-angle video light to return vibrant, kaleidoscopic colour to your video.
Edit your footage
To make your underwater videos good rather than great, it’s important that the editing process is of the highest quality.
When you invest in a leading editing solution, you can add a variety of effects to your film and iron out various errors. You can add music to create extra atmosphere and make it more professional. Don’t go overboard with effects and transitions as this can negatively impact the quality of your film.
You could change the video speed at various points and look at online tutorials to derive as much value from your editing software as possible without using unnecessary effects for the sake of it. Many amateur film producers have seen their footage go viral, with some even licensing their clips out to shows and documentaries.
If you’re planning on making a DVD of your work, consider adding extras to the product such as highlights or photos. Filmora is a popular editing software solution that will help you add an extra dash of magic to your work.


Ollie Mattison
Ollie Mattison is a writer and a lover of all things video.
Follow @Ollie Mattison
Ollie Mattison
Mar 27, 2024• Proven solutions
If you’re interested in shooting underwater video without a big production budget, this article is for you.
With our help, you can shoot gorgeous underwater videos that look fantastic and can be shared across various social media channels including Facebook, Twitter and YouTube.
There are many tips you can learn from to get the results that you require, so read on to find out more about what you can do to shoot underwater video with ease.
Tips on shooting video underwater
1. Frame your shots
It’s best to avoid shooting divers in mid-water. See if there is anything you can use to frame them, such as a wall, corals or marine life. It can take time to frame your divers, but try to get the best results you can to avoid being stuck with unsatisfactory footage further down the line.
2. Get closer
You need to get as close to your subject as you possibly can. It may take several attempts to get it right, especially if you’ve just about got the shot you want but your subject inevitably floats or swims away.
Again, it’s wise to invest extra time in getting the close-up that you need. You can obtain crisp, high-quality images by removing as much of the water between your subject and the camera as you possibly can.
This will also make your images clearer and more colourful.
3. Lighting is important
It’s possible to manipulate lighting via white balance and manual exposure. When you use manual white balance, you can obtain outstanding footage without purchasing costly lights.
Many pros use strobes to film at depth and in low light, but these can be expensive and hard to transport. They can also make your footage look less natural.
You can instead make use of natural sunlight, which should help you get the excellence you require even when you’re shooting at more than 30 metres depth. Deeper white balancing can be helpful during cloudy days.
4. Stay steady
Many amateurs think they won’t have a problem with wobbly movements when filming underwater, but even the smallest amount of jerkiness can be detrimental to your content.
To add greater stability to your camera, hold it as close to yourself as is realistically possible. Alternatively, consider using a tripod if you can. Keep your camera on your subject for as long as you need to, and try to wait for ten seconds without re-adjusting your camera at all.
5. Be careful of other divers
Unfortunately, other divers have a tendency to get in the way when you’re shooting footage underwater. Many video production professionals opt to intentionally include clips of divers in their footage so everything flows nicely and cuts work well together if their presence in other shots is unavoidable.
6. Wide angle
If you wish to include wide-angle shots in your work, make sure the camera is zoomed all the way out. Locking your elbows to your side, try to hold your breath to reduce the chances of shaking and pan shots slowly. You may need to shoot several takes to get it just right and will benefit from the use of a colour correcting filter.
7. Shoot the best colour
You will be able to include the full spectrum of colour by remaining in the first five metres of the water. Fascinating marine life can be found in shallow reefs. The deeper you go, the more colour you are likely to lose.
Virtually all natural colours when you stay shallow. Go beyond this and you will require a colour correction filter to retrieve the colour lost through depth. When shooting close-up subjects beneath 20 metres, use a wide-angle video light to return vibrant, kaleidoscopic colour to your video.
Edit your footage
To make your underwater videos good rather than great, it’s important that the editing process is of the highest quality.
When you invest in a leading editing solution, you can add a variety of effects to your film and iron out various errors. You can add music to create extra atmosphere and make it more professional. Don’t go overboard with effects and transitions as this can negatively impact the quality of your film.
You could change the video speed at various points and look at online tutorials to derive as much value from your editing software as possible without using unnecessary effects for the sake of it. Many amateur film producers have seen their footage go viral, with some even licensing their clips out to shows and documentaries.
If you’re planning on making a DVD of your work, consider adding extras to the product such as highlights or photos. Filmora is a popular editing software solution that will help you add an extra dash of magic to your work.
Ollie Mattison
Ollie Mattison is a writer and a lover of all things video.
Follow @Ollie Mattison
Also read:
- [New] 2024 Approved Real-Life Quantum Mechanics on the Silver Screen
- [New] BenQ BL2711U - Where Art Meets Science in Professional 4K Monitoring
- [Updated] In 2024, Auditory Scripting at Its Excellence
- [Updated] In 2024, Eco-Friendly Recorder - Ads Absolved!
- [Updated] In 2024, Streamline Entertainment Incorporating Subtitles Into WMP
- [Updated] Resolving OBS Fullscreen Not Functional for 2024
- 2024 Approved Advanced Techniques for PIP Integration in Edge Browser
- How to Sidestep and Solve Fatal Error Issues While Playing Tales of Arise on UE4
- In 2024, All-Inclusive VSCO Lens Manual
- In 2024, Virtuality Unleashed Insightful Reviews of Top 10 PC VR Streamers
- Overcoming Windows 11'S Code 0X0000004E Problem
- Taking Photos and Posting YouTube's Complete Guidebook
- The Comprehensive Roadmap to Effective Reddit Sharing
- Tomorrow's Reality Progress in Virtual Worlds
- Ultimate Phone Filters & Camera Cases
- Vivid Visions Best-Rated Desktop Themes
- WinXDVD Gold Collection 18Th Anniversary Sale – Massive Discounts & Free Gifts Unlimited
- Title: Make Marine Scenes Fluidly with These 7 Tricks
- Author: Paul
- Created at : 2025-03-03 19:40:08
- Updated at : 2025-03-06 18:10:46
- Link: https://extra-information.techidaily.com/make-marine-scenes-fluidly-with-these-7-tricks/
- License: This work is licensed under CC BY-NC-SA 4.0.